DIY Shelf Designs for Small Spaces
Materials and Tools Needed
Step-by-Step Guide to Creating DIY Shelf Designs for Small Spaces
Step 2: Prepare Your Materials
Once you have a clear idea of the design and materials needed, it's time to prepare your materials. Cut the wood or metal boards to the required size, and prepare the shelf brackets or supports.
After assembling the shelf, add any additional support or embellishments such as decorative trim or a backing panel to complete the look.
With these steps and tips, you're ready to create your own DIY shelf designs for small spaces. Whether you're looking to add storage and style to your tiny apartment or create a functional shelf in a cramped closet, DIY shelf designs are the perfect solution. Happy creating!
Other Great Articles: [Insert links to related articles]
As we can see from the illustration, Diy Shelf Designs For Small Spaces has many fascinating aspects to explore.
Browse through these [22-100, rel 378, noimage] ofDIYshelfdesigns forsmallspacesawesomewhomakerslovetoinspireyouandhopetrandexperiencekinsihomeprojectsbothsavingsgmeshopsessedwithdifferentaccommodations.Back Gallery ONLY Gonther Tutobre<|reserved_special_token_141|>DIY Shelf Designs for Small Spaces
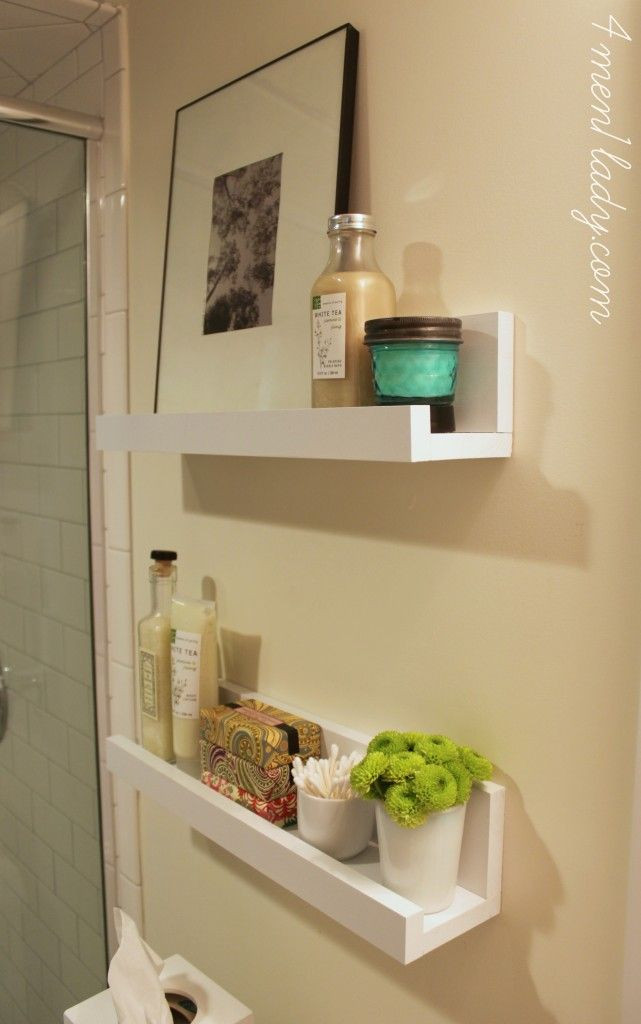
- Hidden Shelves: These shelves are designed to blend seamlessly into the surrounding wall, making them perfect for small spaces where visual clutter is a concern.
- Floating Shelves: Floating shelves are a popular choice for small spaces because they don't take up any visual space and can be easily installed on walls or ceilings.
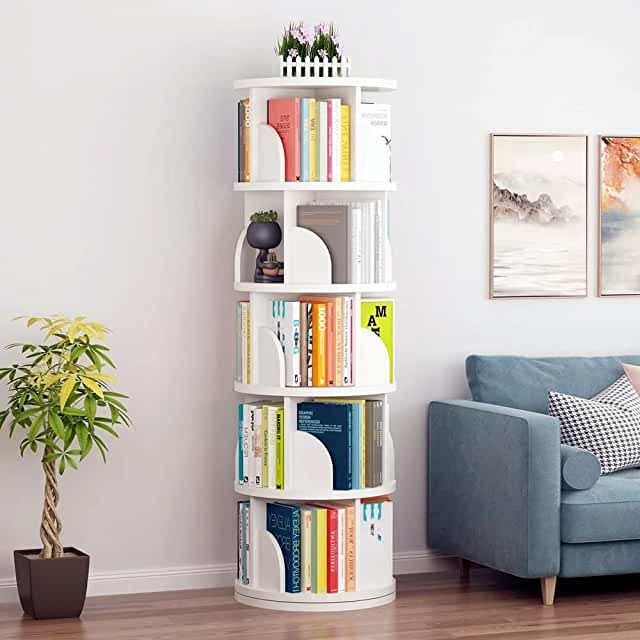
- Storage Shelves: Storage shelves are perfect for small spaces where storage is a priority. They come in a variety of styles and materials, from basic wooden shelves to modern metal solutions.
- Decorative Shelves: Decorative shelves are a great way to add visual interest to small spaces while also providing storage for your favorite items.
Step 2: Prepare Your Materials
With all the materials and tools prepared, it's time to start assembling the shelf. Use screws, nails, or clips to secure the shelf brackets or supports to the wall or ceiling.
Conclusion
Browse through these [22-100, rel 378, noimage] ofDIYshelfdesigns forsmallspacesawesomewhomakerslovetoinspireyouandhopetrandexperiencekinsihomeprojectsbothsavingsgmeshopsessedwithdifferentaccommodations.Back Gallery ONLY Gonther TutobreVisit Our Site
There are numerous benefits to creating your own DIY shelf designs for small spaces. Here are a few:
Moving forward, it's essential to keep these visual contexts in mind when discussing Diy Shelf Designs For Small Spaces.
- Customization: With DIY shelf designs, you have complete control over the design and materials used, allowing you to create a shelf that perfectly suits your needs and style.
- Cost-Effectiveness: DIY shelf designs are often less expensive than purchasing pre-made shelves, making them a cost-effective solution for small spaces.
- Space-Saving: DIY shelf designs can be tailored to fit even the smallest spaces, making them the perfect solution for cramped closets, tiny apartments, or RVs.
- Environmental Benefits: Repurposing old materials and creating your own DIY shelving solutions reduces waste and helps to minimize your environmental footprint.
Step-by-Step Guide to Creating DIY Shelf Designs for Small Spaces
Step 2: Prepare Your Materials
With all the materials and tools prepared, it's time to start assembling the shelf. Use screws, nails, or clips to secure the shelf brackets or supports to the wall or ceiling.
Step 4: Add Support and Final Touches
With these steps and tips, you're ready to create your own DIY shelf designs for small spaces. Whether you're looking to add storage and style to your tiny apartment or create a functional shelf in a cramped closet, DIY shelf designs are the perfect solution. Happy creating!
Other Great Articles: [Insert links to related articles]


")


")


